
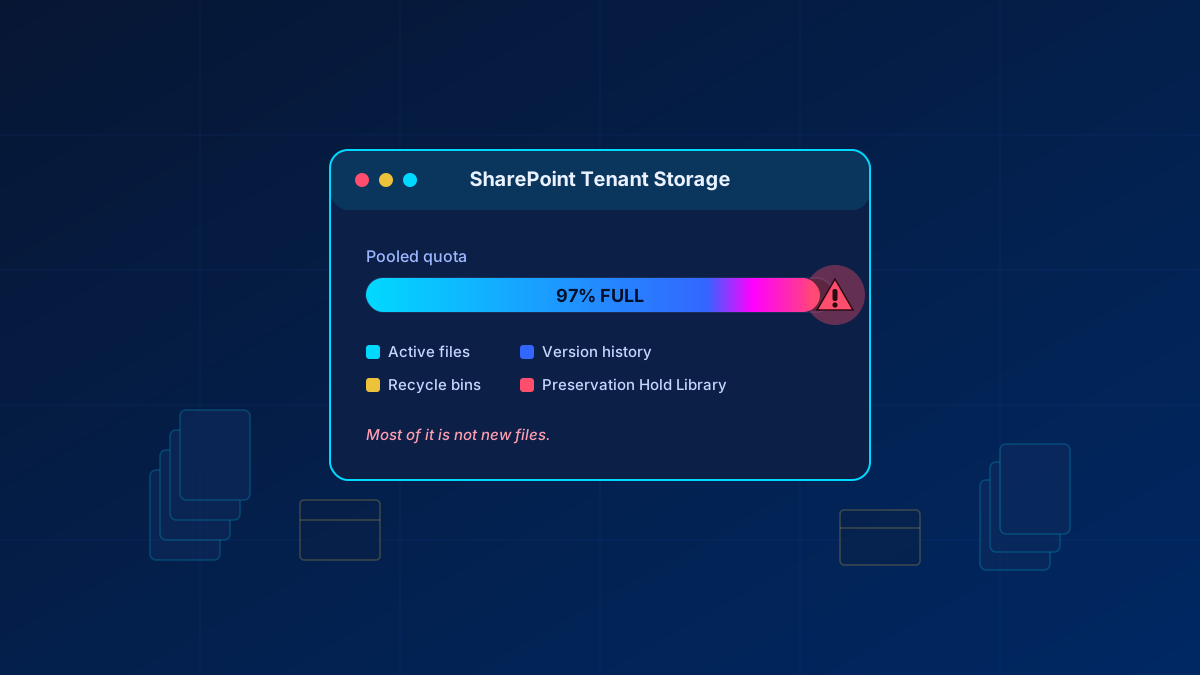
A 300-seat tenant I reviewed recently had 4 TB of pooled SharePoint storage — and sat at 96% capacity. New file uploads over the last twelve months: roughly 400 GB. The rest was version history, two stages of recycle bin nobody ever emptied, and a Preservation Hold Library that had quietly grown to 1.1 TB because a retention policy from 2022 was still holding everything forever.
That pattern repeats in almost every tenant. SharePoint storage rarely fills up because people create too much content. It fills up because of what SharePoint keeps behind the content. And with Microsoft's new pay-as-you-go billing for extra SharePoint storage, every gigabyte of bloat now translates directly into a monthly invoice line. This guide covers what actually counts toward your quota and six practical ways to reclaim it — before finance asks why the M365 bill went up.
How SharePoint Storage Is Actually Calculated
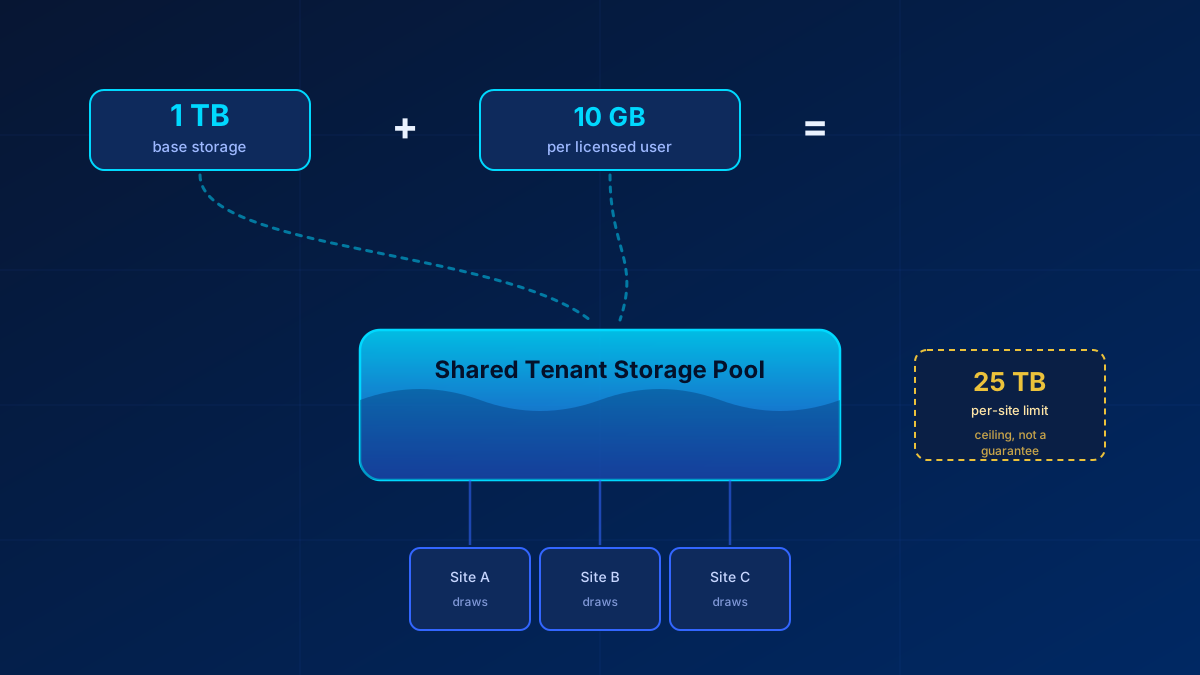
The formula is simple: 1 TB base storage + 10 GB per licence purchased of an eligible plan, pooled across the whole tenant. A 100-user tenant gets 2 TB total. Watch the exceptions: Microsoft 365 F1/F3 and Office 365 F3 contribute only the 1 TB base, OneDrive standalone plans add just 0.50 GB per licence, and any Microsoft 365 Extra File Storage add-on comes on top. SharePoint counts in binary GB (1 GB = 230 bytes), which is why the admin center number never quite matches your spreadsheet. Every SharePoint site draws from that shared pool, and while a single site can technically grow to 25 TB, that only works if the pool has room. The 25 TB is a ceiling, not an allocation.
What most admins underestimate is what counts against that pool. It is not just documents in libraries. Version history counts — every single version, in full. The first-stage recycle bin counts against the storage-used metric; the second-stage (site collection) bin does not, with one exception: deleted subsites go straight to the second stage and keep consuming quota until they are purged. So emptying the first stage is what actually returns space. List attachments, site pages, and site assets count. And the Preservation Hold Library counts, which is the one that hurts, because nobody sees it in the UI.
A 5 MB PowerPoint with 100 versions can consume up to 500 MB — SharePoint stores versions differentially for many file types, so treat that as the ceiling. Multiply that across a document library where marketing has been iterating on the same deck since 2021, and you understand where your terabytes went.
1. Find and Delete Stale Content
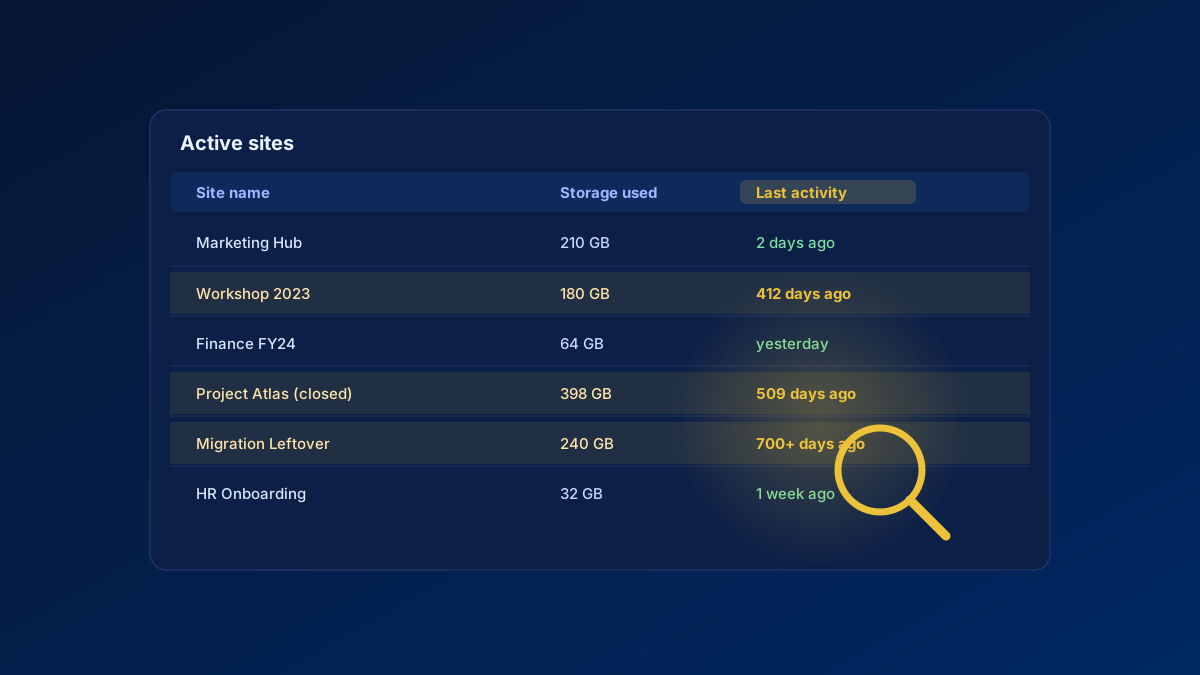
Start where the biggest wins usually are: entire sites nobody uses anymore. Old project sites, sites from Teams that were created for a workshop in 2023, migration leftovers. The SharePoint admin center shows a Last activity column under Active Sites — sort by it and the candidates surface immediately. The site usage reports in the Microsoft 365 admin center add file activity and storage trends on top. If your tenant is full of these, the same hunt applies to orphaned Teams private channel sites, which accumulate silently.
For anything at scale, PowerShell is faster:
Connect-SPOService -Url https://yourtenant-admin.sharepoint.com
Get-SPOSite -Limit All | Select URL, LastContentModifiedDate, StorageUsageCurrent | Sort StorageUsageCurrent -Descending
Sorting by storage usage instead of just date matters. A dormant 2 GB site is a footnote. A dormant 400 GB site is your project.
2. Empty Both Recycle Bin Stages
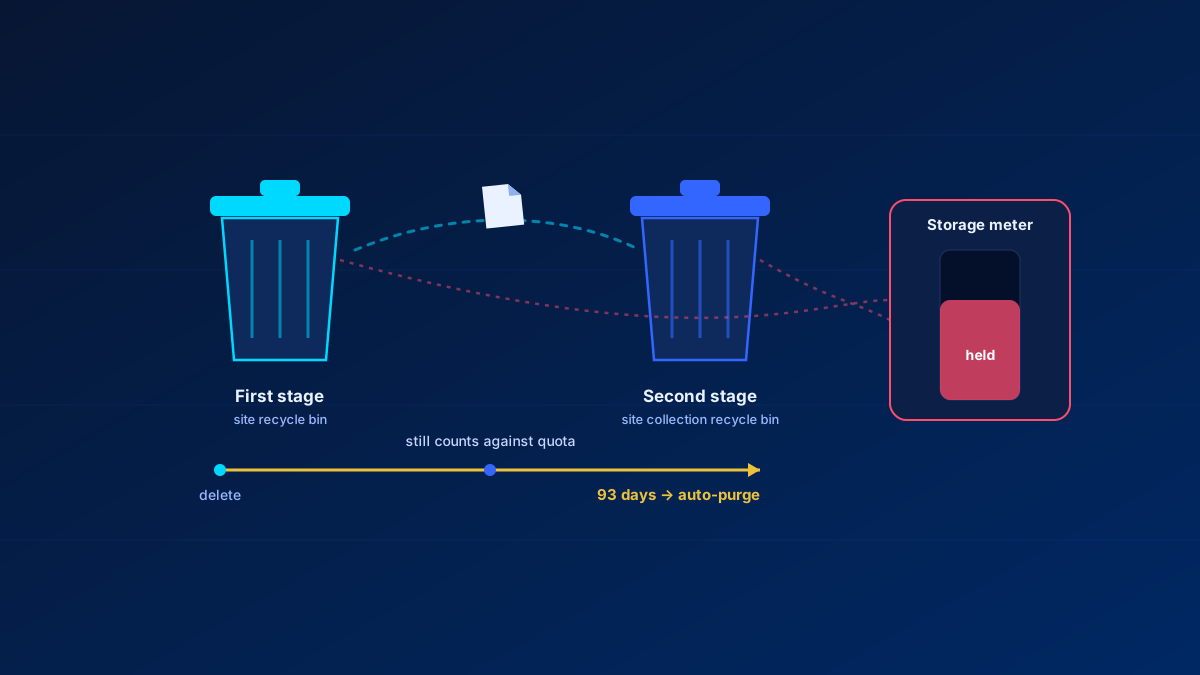
Deleted does not mean gone. Files move to the first-stage recycle bin, then to the second-stage (site collection) recycle bin, and stay recoverable for up to 93 days combined before SharePoint purges them automatically. Only the first stage counts against your storage-used metric, though — so after a large cleanup or migration, emptying the first-stage bin is what gives you the space back. Deleted subsites are the exception: they land directly in the second stage and keep consuming quota until purged.
The second-stage bin hides under Site Settings → Site Collection Administration → Recycle Bin. Or you skip the clicking entirely:
Connect-PnPOnline -Url https://yourtenant.sharepoint.com/sites/yoursite -Interactive
Clear-PnPRecycleBinItem -Force
PnP PowerShell is a community module, not a Microsoft-supported one — fine for a cleanup you run yourself, worth knowing before you build it into a managed service.
One caveat from practice: coordinate this with the site owners first. The recycle bin is the only self-service restore users have. Purge it the day after someone deleted the wrong folder and you will hear about it.
3. Get Version History Under Control
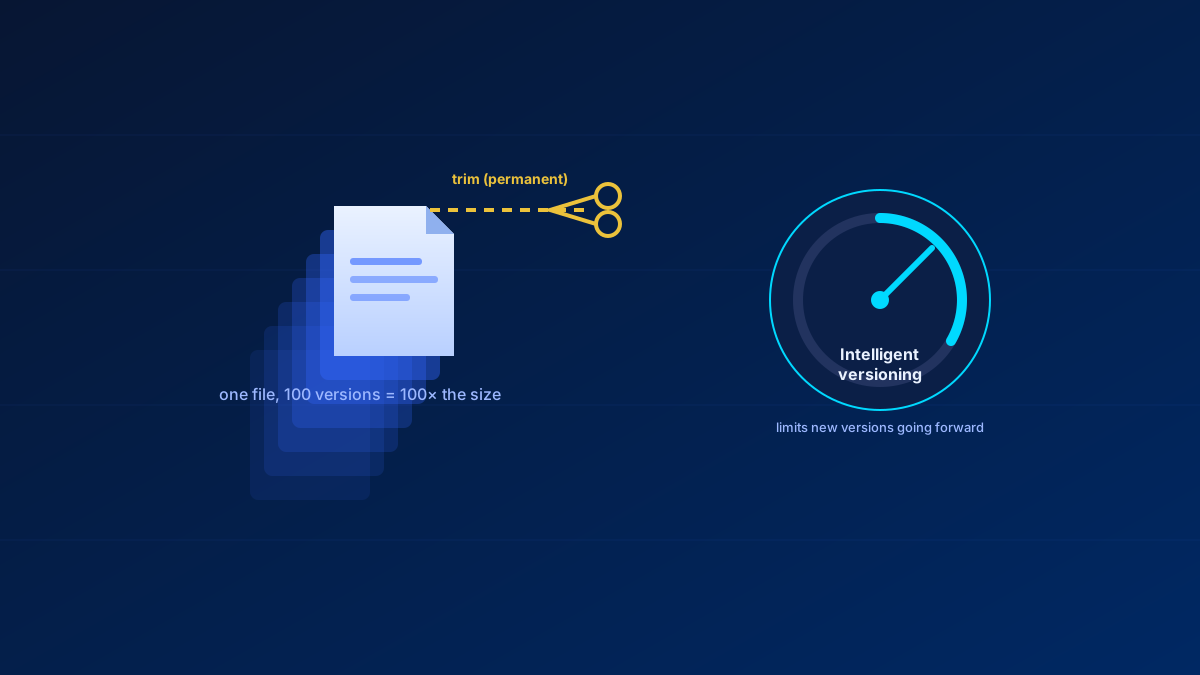
Version history is the classic silent consumer. SharePoint's automatic version history limits (the setting marketing calls intelligent versioning; in the admin center the version trim modes are Automatic, Manual Expiration and Manual Count Limit) now thin out version retention on their own — keeping recent versions dense and aging older ones out — which solves the problem going forward. It does nothing about the versions already sitting in your libraries.
For that, Microsoft provides version trimming via PowerShell, targeting whole sites, individual libraries, or OneDrive accounts. Be aware of what you are doing here: trimmed versions bypass the recycle bin and are unrecoverable. No undo, no second stage, nothing — unless the data was previously backed up with Microsoft 365 Backup or a comparable solution. Run the documented what-if analysis first, trim second, and document the decision — especially in environments with compliance requirements.
Two constraints before you plan this in. Tenant-wide trimming needs a SharePoint Advanced Management or Copilot licence, allows only one job per tenant at a time, and skips read-only, locked and archived sites. And trimming does not touch the Preservation Hold Library — the original copies there are preserved regardless, so if the PHL is your problem, this is not your fix.
4. Archive Inactive Sites Instead of Deleting Them
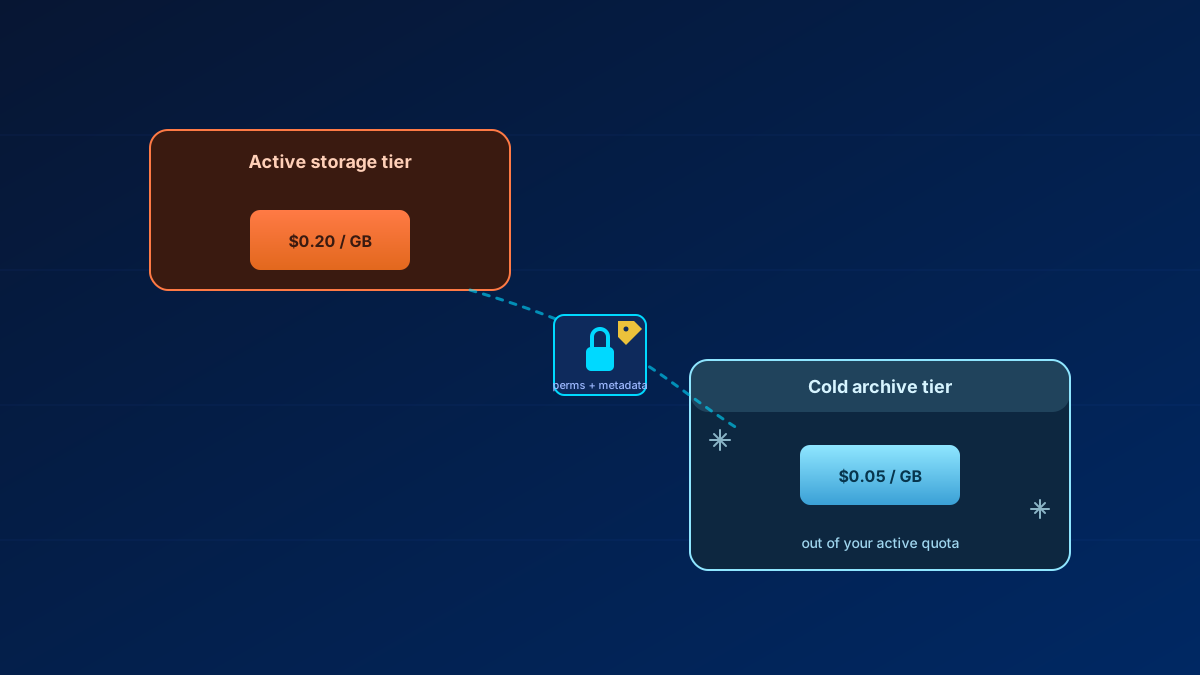
Not everything stale can be deleted. Finished projects, department archives, anything with retention value — that content needs to stay, just not at active-storage prices. Microsoft 365 Archive moves sites to a cold storage tier fully in place: no data migration, permissions and metadata preserved, sites become read-only and disappear from the active list. For the full picture on where this is headed, see my deep dive on file-level archiving in SharePoint — but note the difference: only site archiving frees quota. File-level archive doesn't change site storage usage at all; archived files are accounted for exactly like active ones.
The key detail: archived storage no longer counts against your active SharePoint quota. For tenants bumping against their pool limit, archiving a handful of large legacy sites is often the difference between paying $0.20/GB/month for extra standard storage and $0.05/GB/month for archive — and it costs nothing at all as long as archived plus active storage stays inside your licensed quota. The archive meter only starts once the two together exceed it.
Reactivation works without data loss if a site turns out to be needed after all. It has been free of charge since 31 March 2025, but it can take up to 24 hours, re-archiving newly reactivated content is blocked for four months, and once reactivated the site's storage counts against your quota again.
5. Retention Policies — and the Hidden Library They Feed
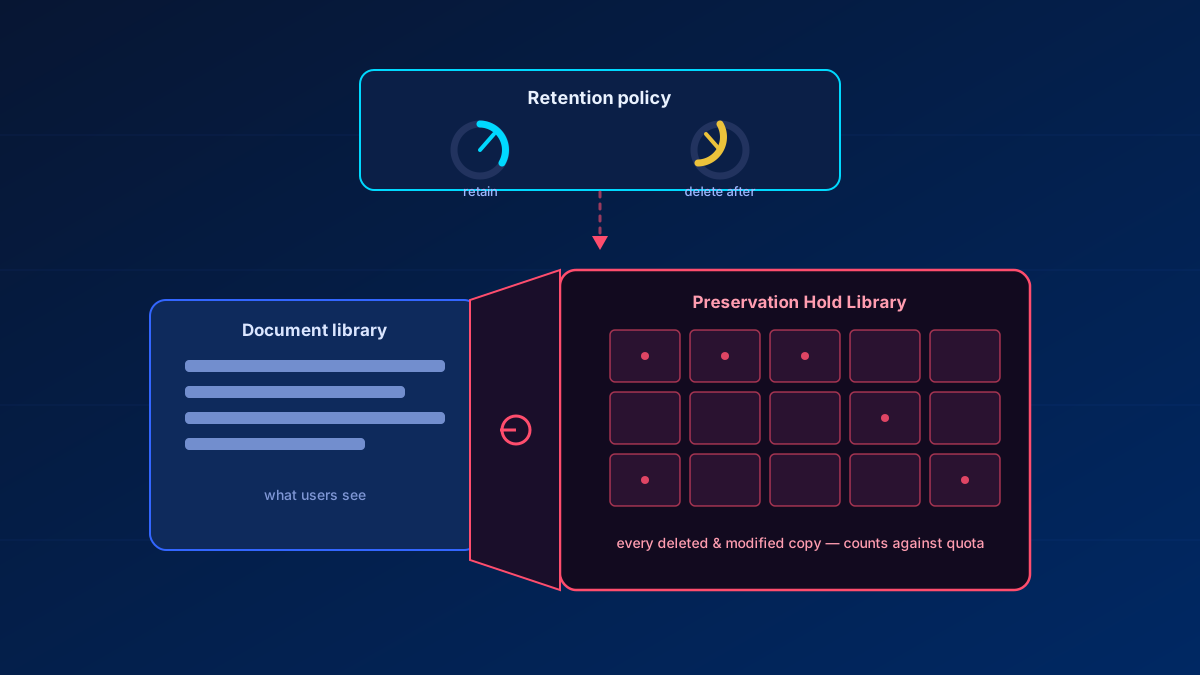
Retention policies in Microsoft Purview cut both ways for storage. Configured well, they are your automation layer: a policy that deletes content five years after last modification keeps old project files from accumulating forever, without anyone lifting a finger. Configured carelessly, they are the reason your storage never shrinks no matter what you delete.
The mechanism behind that is the Preservation Hold Library (PHL) — a hidden system library on every site under retention. Delete or modify a file covered by a retention policy, and SharePoint quietly preserves a copy in the PHL. (With a standard retention label, editing does not create a copy — only deleting does. And newly created content is not copied on its first edit, so versioning has to be on if you want every version preserved.) That copy counts fully against your quota, and users cannot see or touch it. In the tenant from my opening example, a blanket "retain indefinitely" policy from a long-gone compliance project had turned the PHL into the single largest storage consumer.
You can inspect it directly — read-only. Microsoft explicitly does not support editing, deleting or moving these files yourself:
https://yourtenant.sharepoint.com/sites/yoursite/PreservationHoldLibrary/Forms/AllItems.aspxThe fix is rarely technical. Review your existing retention policies against actual compliance requirements, retire the ones nobody can justify anymore, and scope the rest properly. Set expectations on the timing, though: retiring a policy does not free the PHL storage right away. There is a 30-day grace period during which files still land in the PHL, and the cleanup timer job runs only every seven days and only on content older than 30 days — it can take up to 37 days for content to be deleted from the Preservation Hold Library. Expect the PHL to keep its size for at least a month after you pull the policy. Two notes for the rollout: policy enforcement can take up to a week, and a delete-after-X-years policy will sweep everything already older than X into the recycle bin the moment it kicks in. You have the 93-day window to get it back — but nobody will be watching, so communicate this before you hit submit, not after.
Key Takeaways
- Know your formula: 1 TB + 10 GB per eligible licence purchased, pooled tenant-wide (F plans contribute base storage only). Versions, the first-stage recycle bin and the PHL all count against it.
- Biggest wins first: sort sites by storage usage, not just by last activity — then delete, archive, or clean up in that order.
- The first-stage recycle bin holds space; the second stage does not (deleted subsites excepted). Items stay recoverable for 93 days — purge the first stage manually after large cleanups, but coordinate with site owners.
- Automatic version history limits are forward-looking only. Existing version bloat needs trimming; trimming is permanent, needs SharePoint Advanced Management or Copilot at tenant level, and never touches the PHL.
- Microsoft 365 Archive takes inactive sites out of your quota without deleting anything.
- Audit your retention policies. The Preservation Hold Library is where forgotten holds go to eat terabytes.
- With pay-as-you-go storage billing now available, unmanaged bloat is no longer just a technical debt — it is a recurring cost.
Storage optimization in SharePoint is 20% PowerShell and 80% governance decisions: what stays, what gets archived, what a retention policy is actually for. If your tenant is creeping toward its quota and you would rather fix the cause than buy more space, get in touch — this is exactly the kind of cleanup I do.
References
- AdminDroid: 6 Effective Ways to Optimize SharePoint Storage
- Microsoft Learn: Trim file versions in SharePoint and OneDrive
- AdminDroid: Pay-As-You-Go Billing for Microsoft 365 SharePoint Storage
- Microsoft Learn: SharePoint limits
- Microsoft Learn: Restore deleted items from the site collection recycle bin
- Microsoft Learn: Microsoft 365 Archive pricing
- Microsoft Learn: Learn about retention for SharePoint and OneDrive